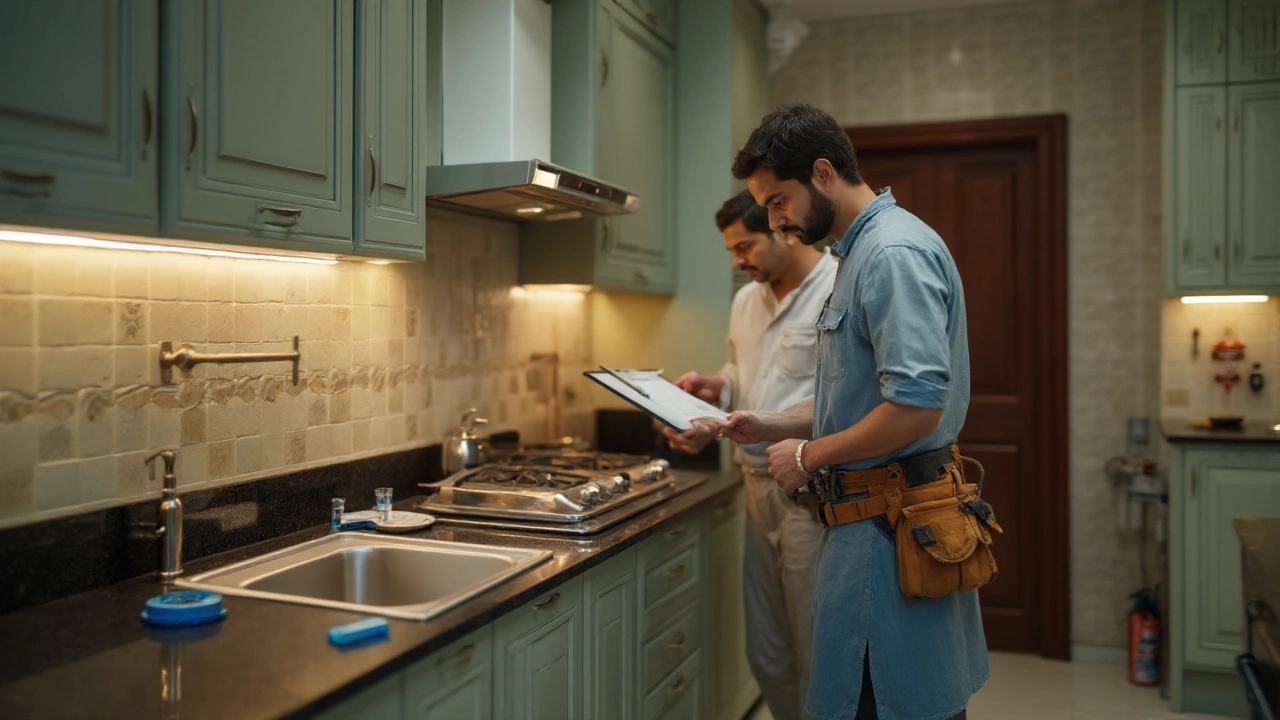
You’re not just hanging cabinets-you’re coordinating a small construction project with plumbing, electrical, ventilation, and millwork that all have to click. If you’re wondering what a kitchen installation really includes, here’s the no-nonsense answer, with the steps, costs, timelines, and checklists you’ll actually use.
What Kitchen Installation Includes (TL;DR, Scope, and Who Does What)
kitchen installation covers more than most people expect. It’s a coordinated series of tasks that moves from planning and demo to rough-in work, fitting cabinets, templating and setting tops, installing appliances, connecting services, and finishing details. Here’s the quick version, then the deeper dive.
TL;DR: What’s included
- Planning and site prep: measurements, layout verification, material staging, floor/wall protection.
- Demolition and disposal: removing old cabinets, tops, splash, some flooring; hauling waste.
- Rough-in work: electrical circuits/outlets, plumbing supply and waste, ventilation ducting, framing tweaks.
- Surfaces: floor leveling/underlayment, wall shimming, drywall patching, priming.
- Cabinetry: base and wall cabinet set, shim, level, fasten; panels, fillers, toe kicks, crown.
- Countertops: template, fabrication, installation; sink cutouts and faucet holes.
- Appliances: set-in and secure; hook-ups for water, drain, gas/electric, venting.
- Finish: backsplash tile, caulk, paint touch-ups, trim, hardware, accessories.
- Finals: electrical and plumbing trim-out, vent balancing, cleaning, walkthrough, punch list.
Jobs you’re trying to get done after clicking this:
- Know what’s standard vs extra in a typical install contract.
- See the step-by-step so you can plan schedule, deliveries, and inspections.
- Estimate realistic costs and timelines for your scope.
- Prep the space and avoid delays or failed inspections.
- Check the finished work with a solid punch-list.
Full scope-what’s usually included
- Pre-construction: final measure, layout check against plans, marking studs and services, floor and doorway protection, dust control (zip walls/filters).
- Demolition: remove cabinets, countertops, some appliances, and often the backsplash. Disposal fees are usually included up to a set volume. Flooring demo may be included or optional-ask.
- Rough-in: update or add circuits for appliances and lighting; move plumbing to match the new sink and dishwasher; vent for a range hood to exterior where possible. Minor framing/shimming to correct out‑of‑square walls.
- Surfaces: patch/prime drywall, plane doors if needed, level subfloor or add underlayment where manufacturers require it.
- Cabinetry: set bases perfectly level, scribe to walls, install wall cabinets, panels, fillers, toe‑kicks, moldings, pulls/knobs. Adjust doors/drawers for clean reveals.
- Countertops: template after cabinets are anchored; fabrication offsite; install with adhesive and fasteners, seam, and seal. Undermount sink hung with clips/rails.
- Appliances: install slide-ins/ranges, cooktops/wall ovens, hoods, microhoods, dishwashers, disposers, fridges/ice maker hookups.
- Finish work: backsplash tile and grout, caulking, paint touch-up, trim returns, final cleaning.
- Final connections: electrical devices and covers, faucet/disposer connections, trap and leak checks, gas pressure test/soap test where applicable.
- Walkthrough and punch: door/drawer alignment, soft-close function, seam check, caulk lines, appliance leveling, vent flow, GFCI/AFCI test.
What’s often excluded (or quoted as extras)
- Structural changes (moving load-bearing walls, beams, header work).
- Full floor replacement in rooms beyond the kitchen footprint.
- Asbestos or lead paint abatement; remediation requires certified crews.
- Panel upgrades, service entrance upgrades, or new gas meters from the utility.
- Custom metal fabrication, stone waterfall miters beyond standard, or bespoke vent chases.
- Relocation of windows/doors, skylights, or major HVAC duct reroutes.
- Permitting fees outside a basic kitchen permit, HOA/condo fees, after-hours work premiums.
Codes and standards that affect your scope
- Electrical: GFCI/AFCI protection, dedicated appliance circuits, and receptacle spacing guided by the National Electrical Code (NFPA 70).
- Plumbing: trap, venting, air gap for dishwashers per local plumbing code (often IPC/UPC derivative).
- Ventilation: hoods vented outside where possible; makeup air may be required for high‑CFM hoods under local mechanical code.
- Building: clearances around cooking surfaces per the International Residential Code. Fire safety separation for gas ranges as required.
- Lead-safe practices for pre‑1978 homes per the EPA’s Renovation, Repair and Painting Rule.

The Step‑by‑Step Installation Process (with Examples, Checklists, and Pro Tips)
Here’s the typical flow and how to prep so days don’t slip.
- Final measure and layout verification (0.5-1 day)
Confirm wall lengths, ceiling height, and appliance specs. Mark stud locations and centerlines for sink, range, hood, and island. Flag any surprises (out-of-plumb walls, low spots in floor). - Permits and scheduling (1-10 days, parallel)
Pull permits if required. Book electrician, plumber, templater, tile, and inspectors. Reserve the freight elevator/parking if you’re in a condo. - Protection and staging (0.5 day)
Lay floor protection, zip walls for dust, cover HVAC returns, and stage cabinets in install order. Check that all boxes and panels arrived damage-free. - Demolition and haul‑away (1-2 days)
Remove cabinets, tops, appliances. Cap utilities. Keep the sink until the night before stone template if you need temporary use. - Rough-in MEP and framing tweaks (1-3 days)
Run or move circuits for range/oven, microwave, dishwasher, disposal, fridge, and lighting. Move water lines and drain to the new sink base, add air gap if required. Vent the hood through roof or wall. Shim studs, straighten corners. - Surfaces prep (0.5-1 day)
Patch drywall, prime, level floor or add underlayment. Snap chalk lines for cabinet bases. - Cabinet install (1-3 days)
Set ledger, hang wall boxes, set bases, scribe fillers, install panels, toe-kicks, crown. Fasten into studs. Align doors/drawers. - Countertop template (0.25 day)
Template after cabinets are locked in. Confirm sink, faucet, and seam placement. Typical stone lead time: 5-10 business days. - Appliance set-in (0.5-1 day)
Place range, hood shell, micro, dishwasher, and fridge for fit checks. Don’t do final hookups until after counters and backsplash, except where needed for template. - Countertop install (0.5-1 day)
Install slabs, seam, support overhangs, mount sink, drill faucet holes, seal stone. - Finish connections (0.5-1 day)
Hook up faucet, disposer, dishwasher, gas/electric, ice maker. Set trims and covers. Test for leaks and GFCI/AFCI function. - Backsplash and finishing (1-2 days)
Tile set and grout or slab splash; caulk; paint touch-ups; install hardware if not done. Clean and detail. - Inspection(s) and punch (0.5 day)
Meet the inspector if required. Walk through with the checklist. Note and schedule punch items.
Two quick examples
- Small galley refresh, no wall moves: 8-12 working days spread over 2-3 weeks. Cost leans toward labor and mid‑range tops.
- Full gut with new circuits and vented hood: 15-25 working days over 4-6 weeks, depending on inspections and countertop lead time.
Pre‑install checklist
- All cabinets and panels on site, inspected.
- Appliance specs confirmed (cutouts, clearances, electrical/gas needs).
- Sink, faucet, disposal, and accessories on site before template.
- Permit card and inspection schedule posted if required.
- Pathways clear, pets secured, neighbors notified (condos).
Measurement cheat‑sheet
- Standard counter height: 36 inches from finished floor.
- Upper cabinets: bottom typically 18 inches above counters (20-24 inches for espresso machines).
- Range hood: 24-30 inches above gas cooktop (check manufacturer).
- Work aisles: 42 inches single‑cook, 48 inches for two cooks.
- Dishwasher opening: 24 inches wide; leave 34.5 inches min. to underside of counter.
Pro tips that save days
- Don’t template counters until cabinets, end panels, and any scribe fillers are locked in. Even 1/8 inch off will telegraph at the backsplash.
- Order a spare door and a couple of extra filler strips. They rescue chips and measurement surprises.
- Confirm electrical panel capacity before demo. A panel upgrade mid‑project can push you back two weeks.
- For high‑CFM hoods (600+), ask your contractor about makeup air early. Some jurisdictions require it.
- If keeping floors, cover them edge‑to‑edge and use cabinet leg levelers instead of aggressive shimming.
| Task | Typical Cost (US, 2025) | Typical Duration | Notes |
|---|---|---|---|
| Design/Measure/Planning | $300-$1,500 | 0.5-2 days (split) | Often credited if you buy cabinets from the same vendor. |
| Demolition & Haul‑away | $600-$2,500 | 1-2 days | Excludes hazardous material abatement. |
| Electrical Rough‑in | $1,000-$4,000 | 1-2 days | New circuits, outlets, lighting; panel upgrades add $2,000-$4,500. |
| Plumbing Rough‑in | $700-$2,500 | 0.5-1.5 days | Sink, dishwasher, fridge water, disposer. |
| Ventilation (Hood Duct) | $400-$1,500 | 0.5-1 day | Exterior vent preferred; interior recirc is cheaper but less effective. |
| Cabinet Installation | $2,500-$7,500 | 1-3 days | Varies with layout, panels, moldings, and scribing. |
| Countertops (Quartz/Granite) | $2,500-$6,500 | Install 0.5-1 day (after 5-10 day lead) | Includes sink cutout; extras for waterfall edges and complex seams. |
| Backsplash Tile | $800-$2,200 | 1-2 days | Depends on tile size/pattern and outlets to cut around. |
| Appliance Installation | $400-$1,500 | 0.5-1 day | Excludes high‑end built‑ins requiring custom panels. |
| Finish Plumbing & Electrical | $500-$1,800 | 0.5-1 day | Faucet, disposer, DW, trims, device covers, lighting. |
| Paint & Touch‑ups | $300-$1,200 | 0.5-1 day | Can be DIY to save costs. |
Data context: Ranges reflect national averages for mid‑range projects in early 2025, with labor affected by market rates and union/non‑union mix. For ROI context, the 2025 Cost vs. Value Report (Zonda) historically shows mid‑range minor kitchen remodels recoup a strong share on resale; full gut ROI depends heavily on market and finish level. For safety and code, NFPA 70 (NEC), the International Residential Code, and the EPA RRP rule remain the governing baselines in most jurisdictions; always verify local amendments.
Simple decision rules
- If your panel is 100A and you’re adding multiple new kitchen circuits, ask an electrician to do a load calc early.
- If your walls aren’t plumb or square by more than 1/4 inch over 8 feet, add a day for shimming and scribing.
- If your hood is 600 CFM or higher, ask about makeup air before ordering.
- If your counters are butcher block or laminate, you can often skip the template wait and cut lead time.

Costs, Timelines, FAQs, and Next Steps
Typical totals (labor + materials, excluding appliances)
- Small refresh (stock cabinets, simple tops): $9,000-$18,000; 2-3 weeks elapsed.
- Mid‑range full install: $18,000-$40,000; 4-6 weeks elapsed.
- High‑end/custom: $40,000-$100,000+; 6-12 weeks elapsed.
Labor‑only installs (you supply cabinets/appliances) often price $120-$250 per linear foot for cabinets, plus time‑and‑materials for MEP. Urban cores run higher due to access and parking. Labor rates track local wages; BLS data in 2025 shows ongoing increases for licensed trades, so build a 10-15% contingency.
What to inspect at the end (punch‑list)
- Cabinet reveals even; doors and drawers soft‑close and stay closed.
- Counter seams tight and smooth to the touch; no lippage.
- Sink mount solid; no leaks at supply lines, P‑trap, or disposer.
- GFCI/AFCI test buttons function; required outlets present and grounded.
- Hood vents outside and actually pulls air; no rattles or backdraft noises.
- Tile lines straight, grout consistent, caulked corners flexible and neat.
- Appliances level, anchored where required (anti‑tip bracket on ranges).
- Paint touch‑ups complete; no glue smears or excess caulk.
Mini‑FAQ
- Do I need a permit? Usually yes if you’re moving plumbing or adding circuits. Even cabinet‑only jobs may need an over‑the‑counter permit in some cities. Your installer or GC should verify local rules.
- Can I live at home during install? Yes, but expect 5-15 days without a working kitchen. Set up a temp kitchen with a hot plate, microwave, and fridge access.
- How long do counters take after template? Commonly 5-10 business days for quartz/granite. Solid‑surface can be quicker; exotic stone can take longer.
- Who handles disposal? Most installers include debris removal up to a set volume. Confirm dumpster placement and HOA rules.
- Will installers move plumbing and electrical? Licensed trades should handle that under the same contract or a subcontract. Don’t let unlicensed workers tie into gas or panel.
- What about lead/asbestos? Homes built before 1978 may have lead paint; certain vinyl tiles/linoleum and mastics can contain asbestos. Testing comes first; abatement requires certified pros.
- Do I tile backsplash before or after counters? After counters are installed and set. Never tile to a guess.
- Should upper cabinets go in before base cabinets? Often yes; it protects bases and gives you a clean reference line. Many pros set uppers first with a ledger.
- Is tipping expected? Not required. If the crew went above and beyond, a tip or a strong review goes a long way.
Next steps by scenario
- First‑time homeowner: Lock the layout, pull permits, and order all long‑lead items (cabinets, appliances, sink, faucet, hardware) before demo. Build a 15% contingency.
- Condo/HOA: Get HOA approval, verify work hours, book elevators, and confirm quiet hours. Have your installer provide insurance certificates.
- Landlord on a turn: Pick durable, in‑stock finishes. Aim for a 10-14 day turn with laminate tops and stock cabinets.
- DIY‑assisted: You handle demo/paint; pros handle MEP and counters. Have your work inspected before pro work starts to avoid re‑work.
Troubleshooting common snags
- Counters delayed: Install a temporary plywood top and utility sink if needed. Keep moving with paint, lighting, and hardware so the schedule doesn’t stall.
- Out‑of‑square walls: Use wider filler strips and scribe panels. It’s normal-don’t force cabinets to follow a crooked wall.
- Inspector fails you on electrical: It’s often about missing GFCI/AFCI or spacing. Have your electrician walk the plan against NEC spacing rules and fix before re‑inspection.
- Appliance doesn’t fit: Check spec book clearances, hinge swing, and plug depth. Swapping to a counter‑depth fridge can save the day.
- Hood is loud or weak: Shorten runs, increase duct size to manufacturer spec, and use smooth metal ducting with gentle bends.
What a standard installer contract should show
- Detailed scope (what’s included/excluded), with drawings.
- Milestones tied to payments: after demo, after cabinets, after counters, final punch.
- Lead times and who’s responsible for ordering each item.
- Permit responsibility and inspection schedule.
- Warranty terms on labor (commonly 1 year) and how to request service.
Bottom line: a clean kitchen install is about sequence and prep. When you know what’s included, you can budget, schedule, and check the work with confidence. Keep the checklists handy, confirm the scope in writing, and your project will move like a well‑run jobsite.


Write a comment