
Foundation Repair Method Selector
Recommended Repair Method
Repair Methods Overview
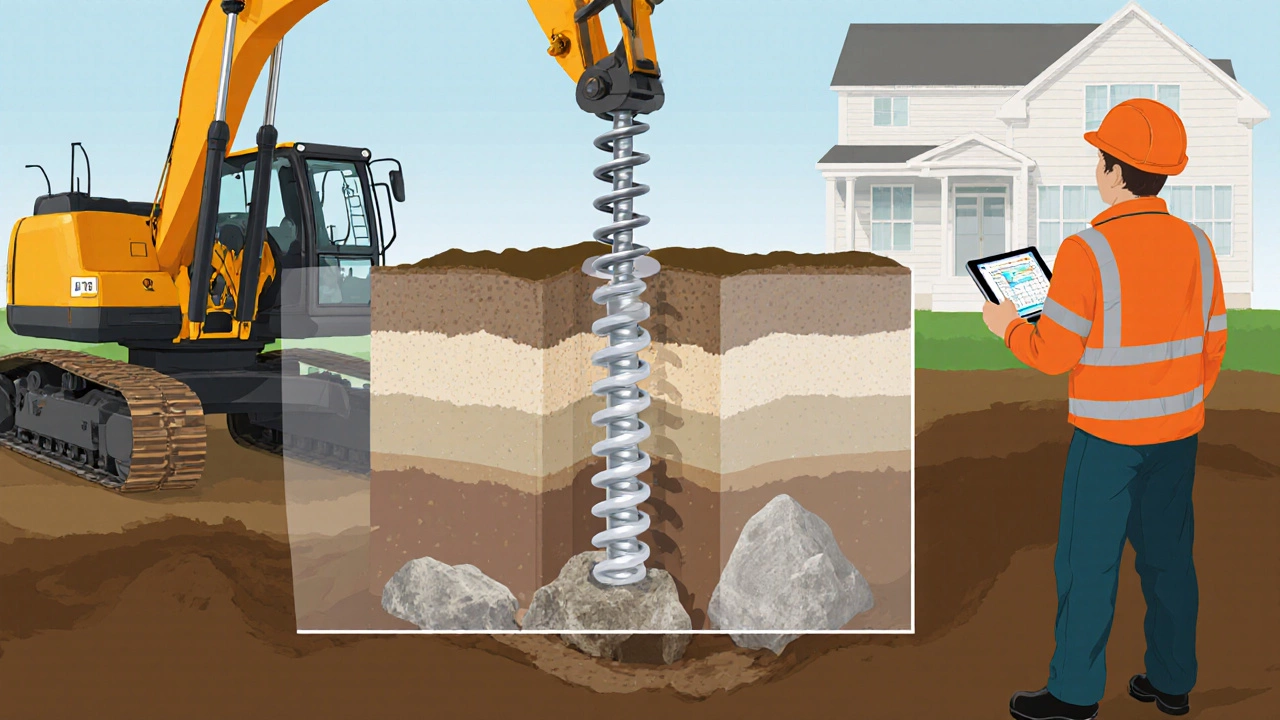
Helical Piers
Steel shafts with helix plates screwed into the ground until reaching load-bearing strata.
Success Rate: 95%
Push (Driven) Piers
Concrete or steel piles driven deep until hitting a solid layer.
Success Rate: 92%
Slabjacking
Drill holes in the slab, pump cement-based slurry to lift the concrete.
Success Rate: 88%
Carbon Fiber Reinforcement
Bond carbon-fiber strips to walls or beams to resist movement.
Success Rate: 85%
When you notice cracks in the walls, doors that stick, or a floor that feels uneven, the first thought is often “my house is sinking.” Foundation repair is the process of stabilising a building’s base so those symptoms disappear and the structure stays safe. In this article we unpack how the work actually fixes a problem, which methods deliver the best results, and what you should watch out for before signing a contract.
Key Takeaways
- Foundation repair works when the right method matches the soil condition and the problem’s severity.
- Helical piers, push piers, and slabjacking are the three most common techniques in New Zealand.
- Success rates above 90% are typical, but poor workmanship or extreme soil movement can cause repeat issues.
- Cost ranges from $3,000 for minor slabjacking to $25,000+ for extensive pier installations.
- Hire a licensed structural engineer and a contractor with a warranty to protect your investment.
What exactly is foundation repair?
In plain terms, foundation repair means adding strength to a building’s footing so it no longer shifts under its own weight. The work usually starts with a soil assessment - a geotechnical expert drills boreholes, measures moisture, and checks for expansive clay or a high water table. Those findings dictate which stabilisation method will work.
In New Zealand’s varied terrain, the most common trouble spot is foundation settlement. Settlement happens when the ground underneath compresses unevenly, pulling the slab or walls down in one spot while the rest of the house stays level. Repairing settlement is essentially “resetting” the house on a firmer base.
How does the repair actually stop the problem?
Every method adds a load‑bearing element that bypasses weak soil and transfers weight to stable strata - often sand, rock, or compacted gravel located several metres below the surface. Think of it like a person standing on a shaky floor: they place a sturdy table leg underneath to create a firm platform.
Four steps are common to almost every repair job:
- Inspection: A licensed structural engineer reviews the cracks, measures level differences, and decides which method fits.
- Design: The engineer draws a plan showing where each pier or injection point will go.
- Installation: Contractors drill or drive the chosen elements (piers, grout, etc.) into the ground.
- Verification: After the work, the engineer re‑measures the house to confirm it’s within tolerance - usually less than 5mm of movement over a month.
If any step falls short, the repair may appear to work at first but will rel‑crack later.
Common repair methods - when to use each
| Method | How it works | Best soil condition | Typical cost (NZD) | Success rate |
|---|---|---|---|---|
| Helical piers | Steel shafts with helix plates are screwed into the ground until they reach load‑bearing strata. | Clay, loam, or sandy soil with moderate moisture. | $12,000‑$25,000 | 95% |
| Push (or driven) piers | Concrete or steel piles are driven deep until they hit a solid layer. | Hard packed sand or rock. | $10,000‑$22,000 | 92% |
| Slabjacking (mudjacking) | Drill holes in the slab, pump a cement‑based slurry to lift the concrete. | Relatively stable soil where lifting alone can fix settlement. | $3,000‑$7,000 | 88% |
| Carbon fibre reinforcement | Bond carbon‑fibre strips to walls or beams to resist movement. | Minor cracking caused by load shifts. | $4,000‑$9,000 | 85% |
Helical piers dominate the market in Auckland because they’re quick to install and work well with the region’s volcanic ash soils. Push piers are favored for larger commercial structures where deeper loads are expected.
Real-world performance - does it actually hold up?
Industry surveys from the New Zealand Foundation Repair Association (NZFRA) in 2023‑2024 show that 91% of homeowners report “no further movement” after a repair, provided the contractor followed the engineer’s design. The remaining 9% typically fall into one of three buckets:
- Poor soil conditions: Expansive clay that swells after heavy rain can out‑load even a correctly installed pier.
- Improper installation: Piers not driven deep enough, or grout not allowed to cure.
- Lack of drainage: Water pooling around the foundation erodes the soil over time.
In all three cases, a second‑stage repair - often adding more piers or improving drainage - restores stability. So the answer to “does it work?” is yes, but only when the whole system (repair method, soil management, and ongoing maintenance) is addressed.
Factors that affect success
These are the variables you’ll hear most often from engineers:
- Soil type: Clay expands with moisture; sand compacts under weight. A correct soil test is non‑negotiable.
- Depth of stable stratum: If solid ground is deeper than 4m, helical piers become more cost‑effective than push piles.
- Load distribution: Larger homes or those with heavy upstairs furniture need more evenly spaced piers.
- Weather patterns: In Auckland, the rainy season can temporarily re‑activate movement if drainage isn’t upgraded.
- Contractor experience: Look for companies with at least five years of completed projects and a warranty of 5‑10 years.
Cost breakdown - what are you really paying for?
Here’s a typical estimate for a 150‑square‑meter family home in the Auckland suburbs:
- Soil testing & engineering design: $1,200‑$2,000
- Helical pier installation (8‑10 piers): $10,000‑$18,000
- Drainage improvements (French drain, grading): $2,500‑$4,500
- Warranty & paperwork: Included in contractor fee
The total sits between $13,700 and $24,500. Cheaper slabjacking can fix minor settlement, but it won’t stop future movement if the underlying soil still shifts.
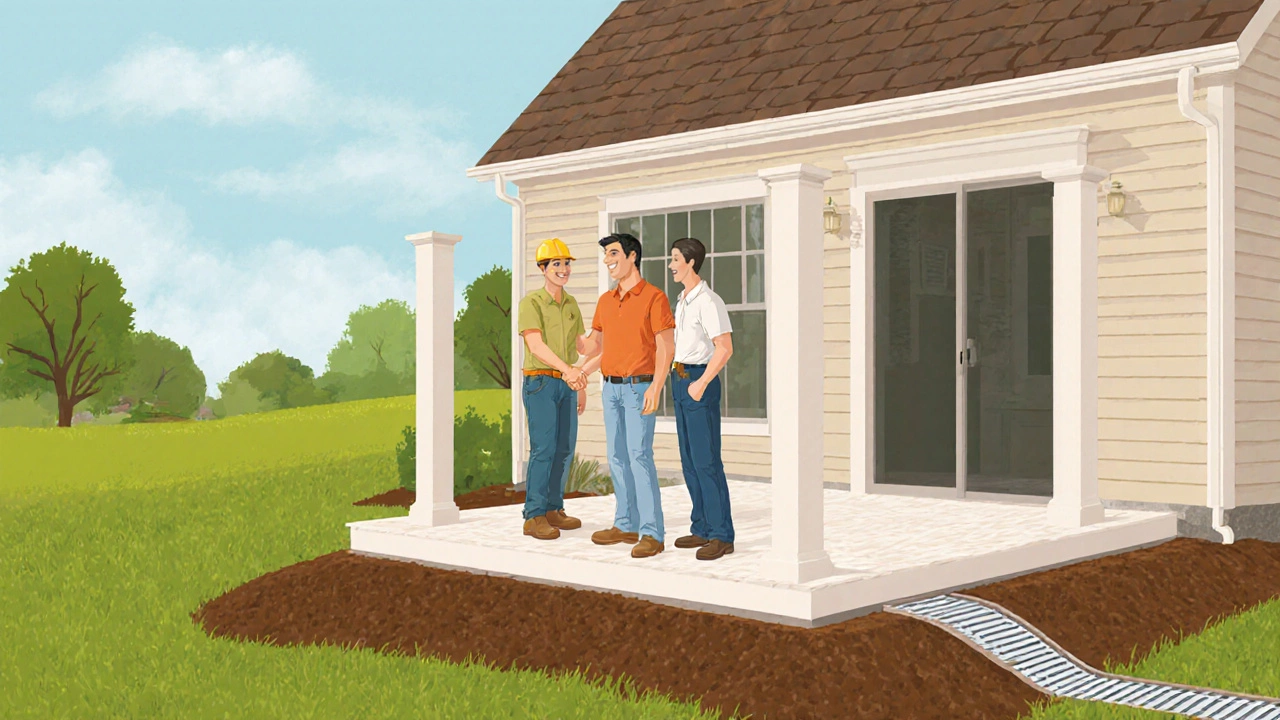
How to choose the right contractor
Don’t just go with the lowest quote. Follow this short checklist:
- Verify the contractor holds a current license from the New Zealand Building Authority.
- Ask for a copy of the engineer’s design and ensure you can review it.
- Check at least three references - homeowners who had the same method used.
- Confirm a written warranty that covers both materials and workmanship for at least five years.
- Make sure the contract lists a clear start‑date, completion date, and payment schedule.
When you see a contractor refusing to provide any of these, walk away. A reputable builder will welcome transparency because it backs up their confidence in the repair.
Maintenance after the repair
Even the best repair can be undone by neglect. Keep these habits in mind:
- Maintain proper grading - the soil should slope away from the house at least 5cm per meter.
- Install gutter downspouts that discharge at least 1.5m from the foundation.
- Limit heavy water use (e.g., landscape irrigation) near the footing during prolonged rain.
- Schedule a post‑repair inspection with the engineer after 6 months, then annually.
These small actions dramatically extend the life of any foundation repair, turning a one‑time fix into a long‑term peace of mind.
Frequently Asked Questions
Will foundation repair raise the value of my home?
Yes, a certified repair removes structural concerns that can deter buyers. In recent Auckland surveys, homes with a recent foundation repair sold for 5‑8% more than comparable houses with untreated issues.
How long does a typical repair take?
Helical pier installations usually finish in 2‑4 days after soil testing. Slabjacking can be completed within a single day, but curing time adds another 24‑48hours before you can walk on the floor.
Can I do foundation repair myself?
The design and installation involve specialised equipment and engineering calculations. DIY attempts often miss critical depth or load requirements, leading to higher long‑term costs.
What signs indicate my foundation needs repair?
Look for cracked or bowing walls, uneven doors and windows, sloping floors, gaps between the wall and ceiling, and water pooling near the base of the house.
How often should I have my foundation inspected?
A visual check every 2‑3 years is wise, plus an inspection after any major earth tremor, flood, or new construction nearby.


Write a comment